Cold Brew-ha-ha
A step by step guide for smooth, delicious cold brew.
November 3, 2016
So, you’ve looked at your bank statement this last month and don’t like what you see. You’ve somehow managed to spend several hundred dollars on coffee. Haven’t we all? From Moka to Caribou, the simple fact of the matter is that coffee from these corporate chains is expensive. Although three to five dollars doesn’t seem like a lot up front, it definitely adds up. That is why this year I decided to get innovative. Senior Maya Alfred suggested the idea of making cold brew to me, a more powerful alternative to your average iced coffee. Not only will it help to kickstart your day, it will also save you a significant amount of cash. Cold brew has changed the way I drink coffee, and I hope this guide begins your journey towards caffeine nirvana.
Recipe:
- 84g ground coffee beans
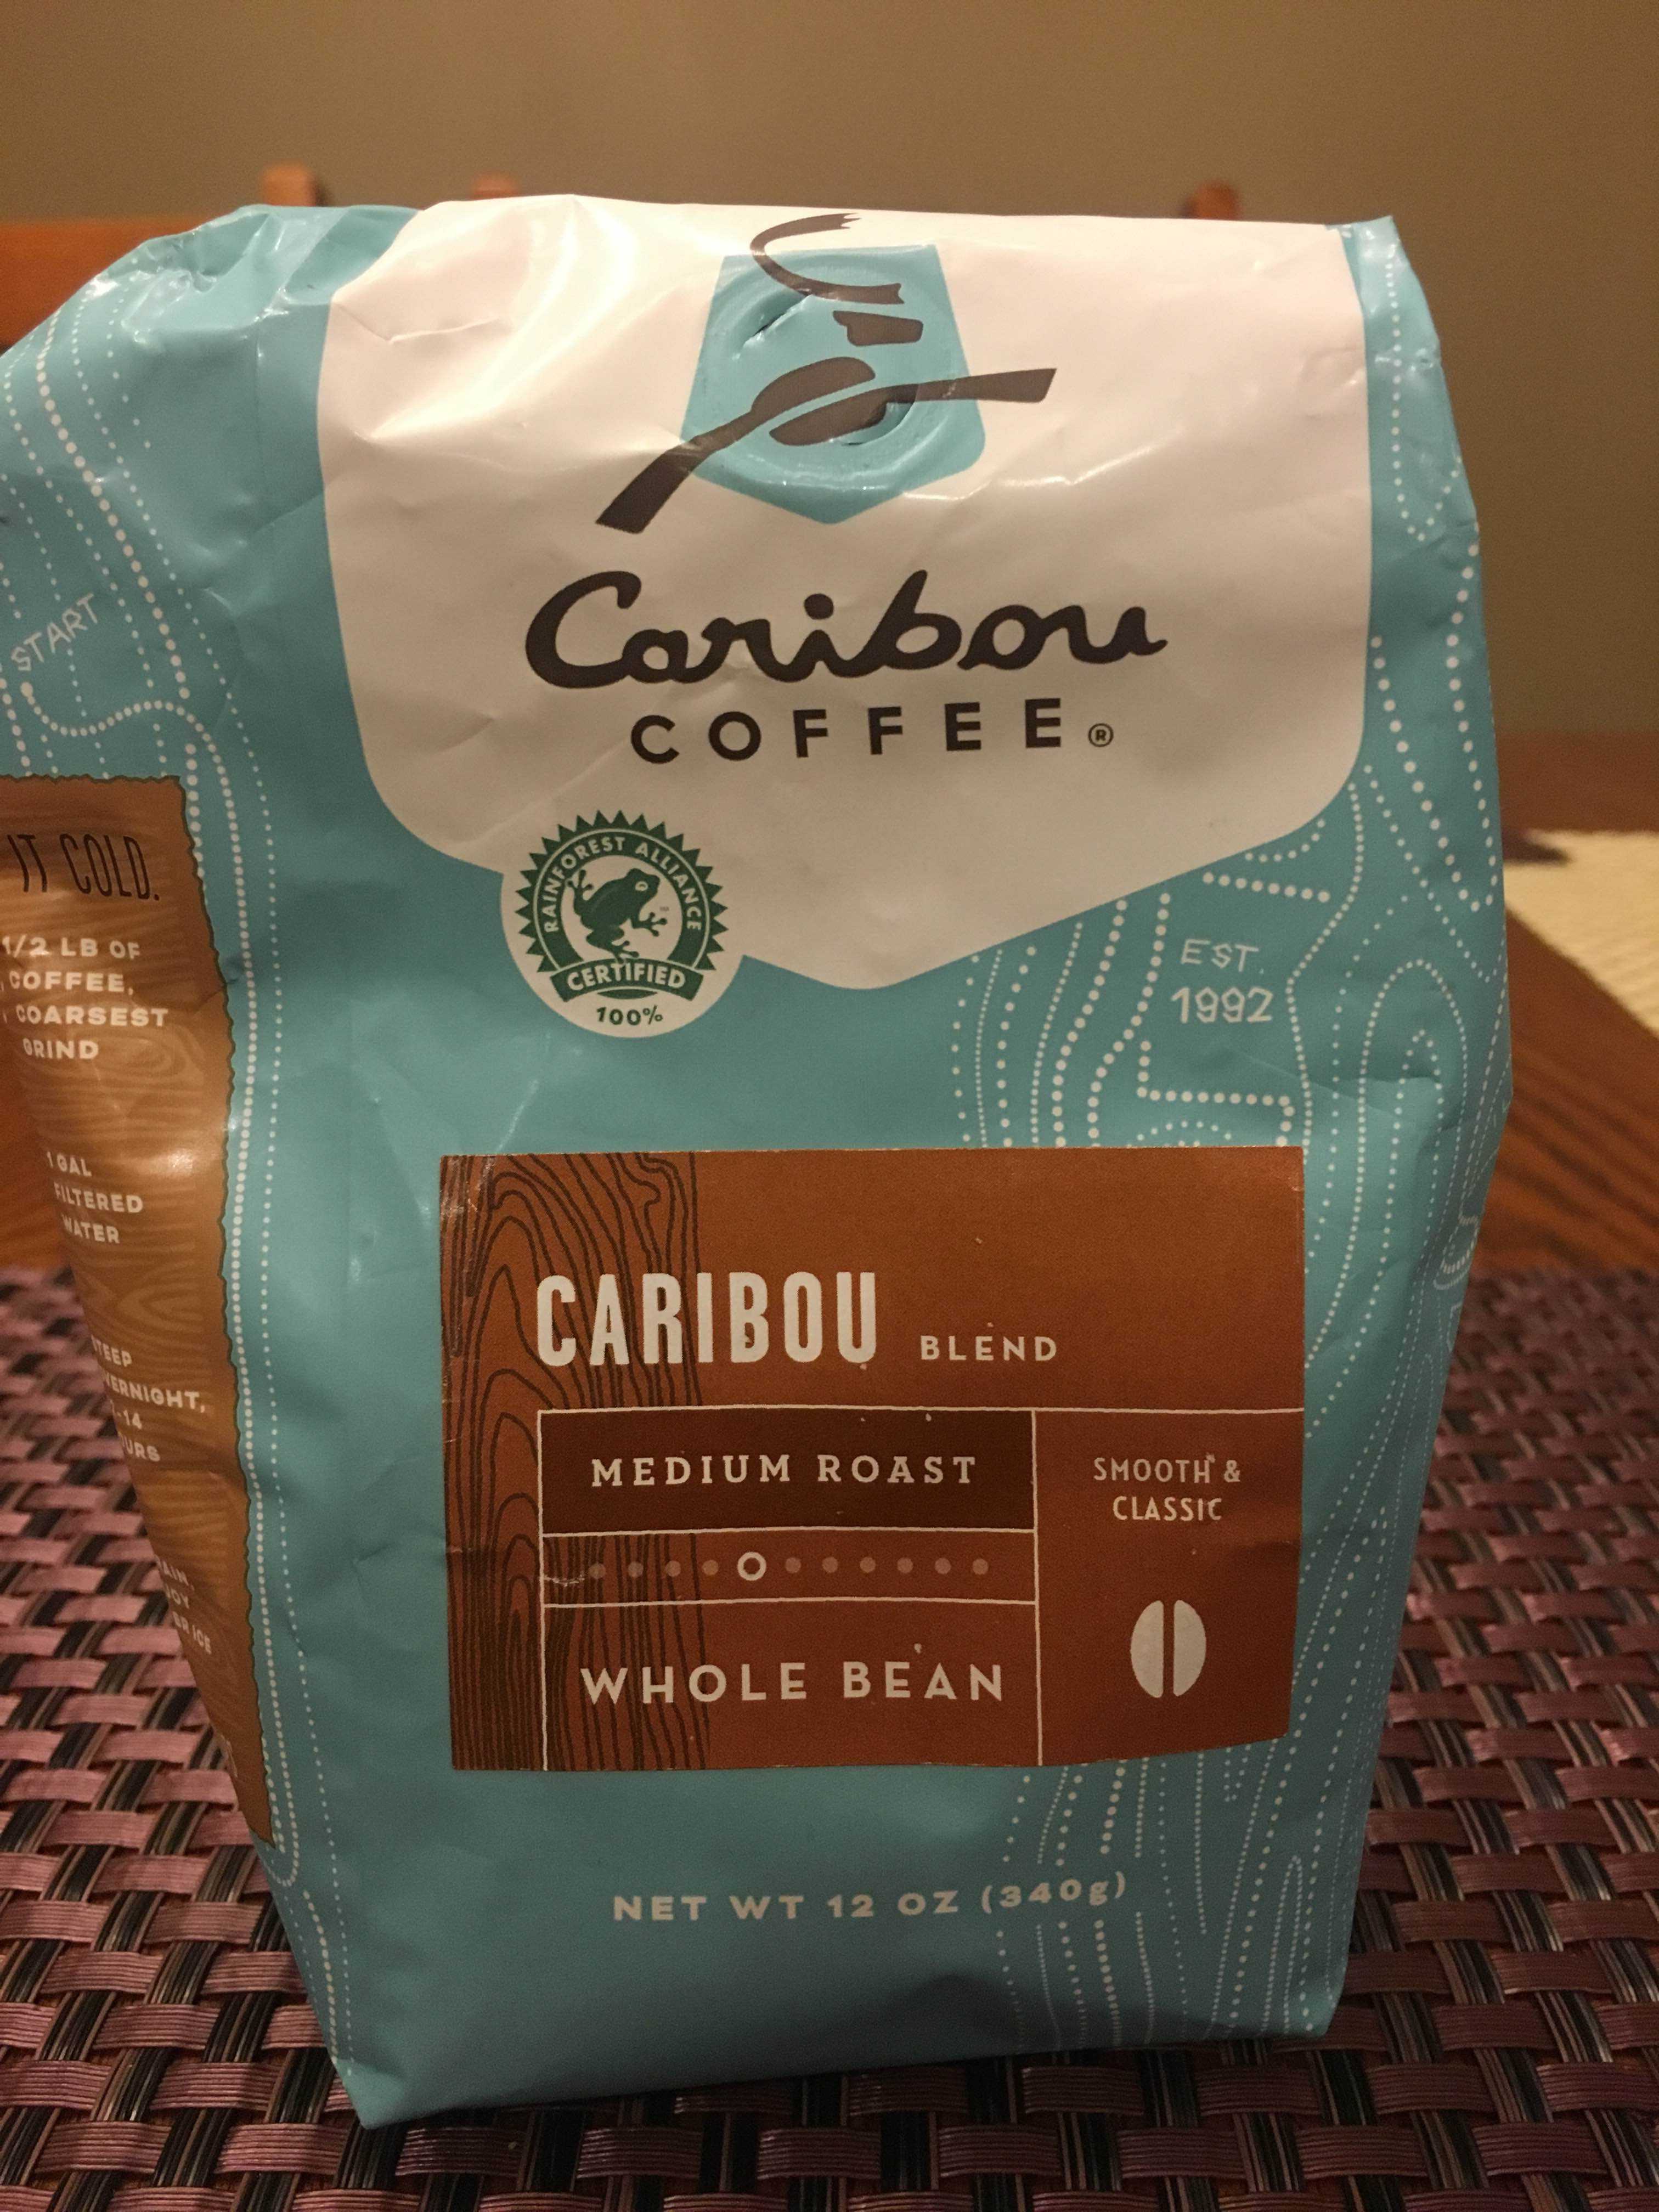
Figure 1
- Water
Step 1: Picking your beans
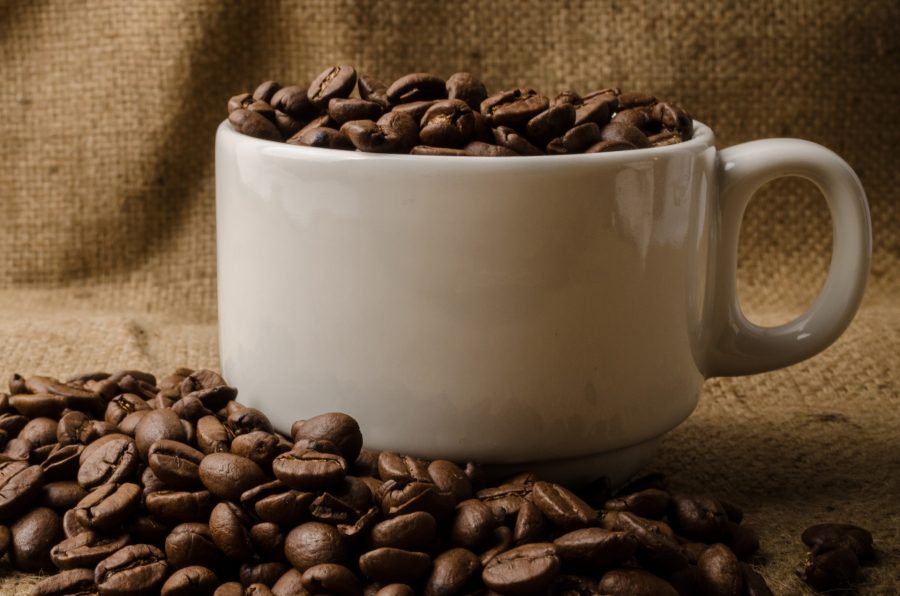
Beans are a very picky subject for many coffee connoisseurs. If you happen to be one of these individuals, them I’m sure you already have a preference. However for a lot of you, this is your first time making your own coffee. So I would start out simple. For me I just went to Target and picked out the first package that caught my eye. It happened to be the Caribou whole-bean, medium roast (1). As your taste for coffee evolves, you can begin to buy more expensive and more “pretentious” beans.
Step 2: Grind those beans
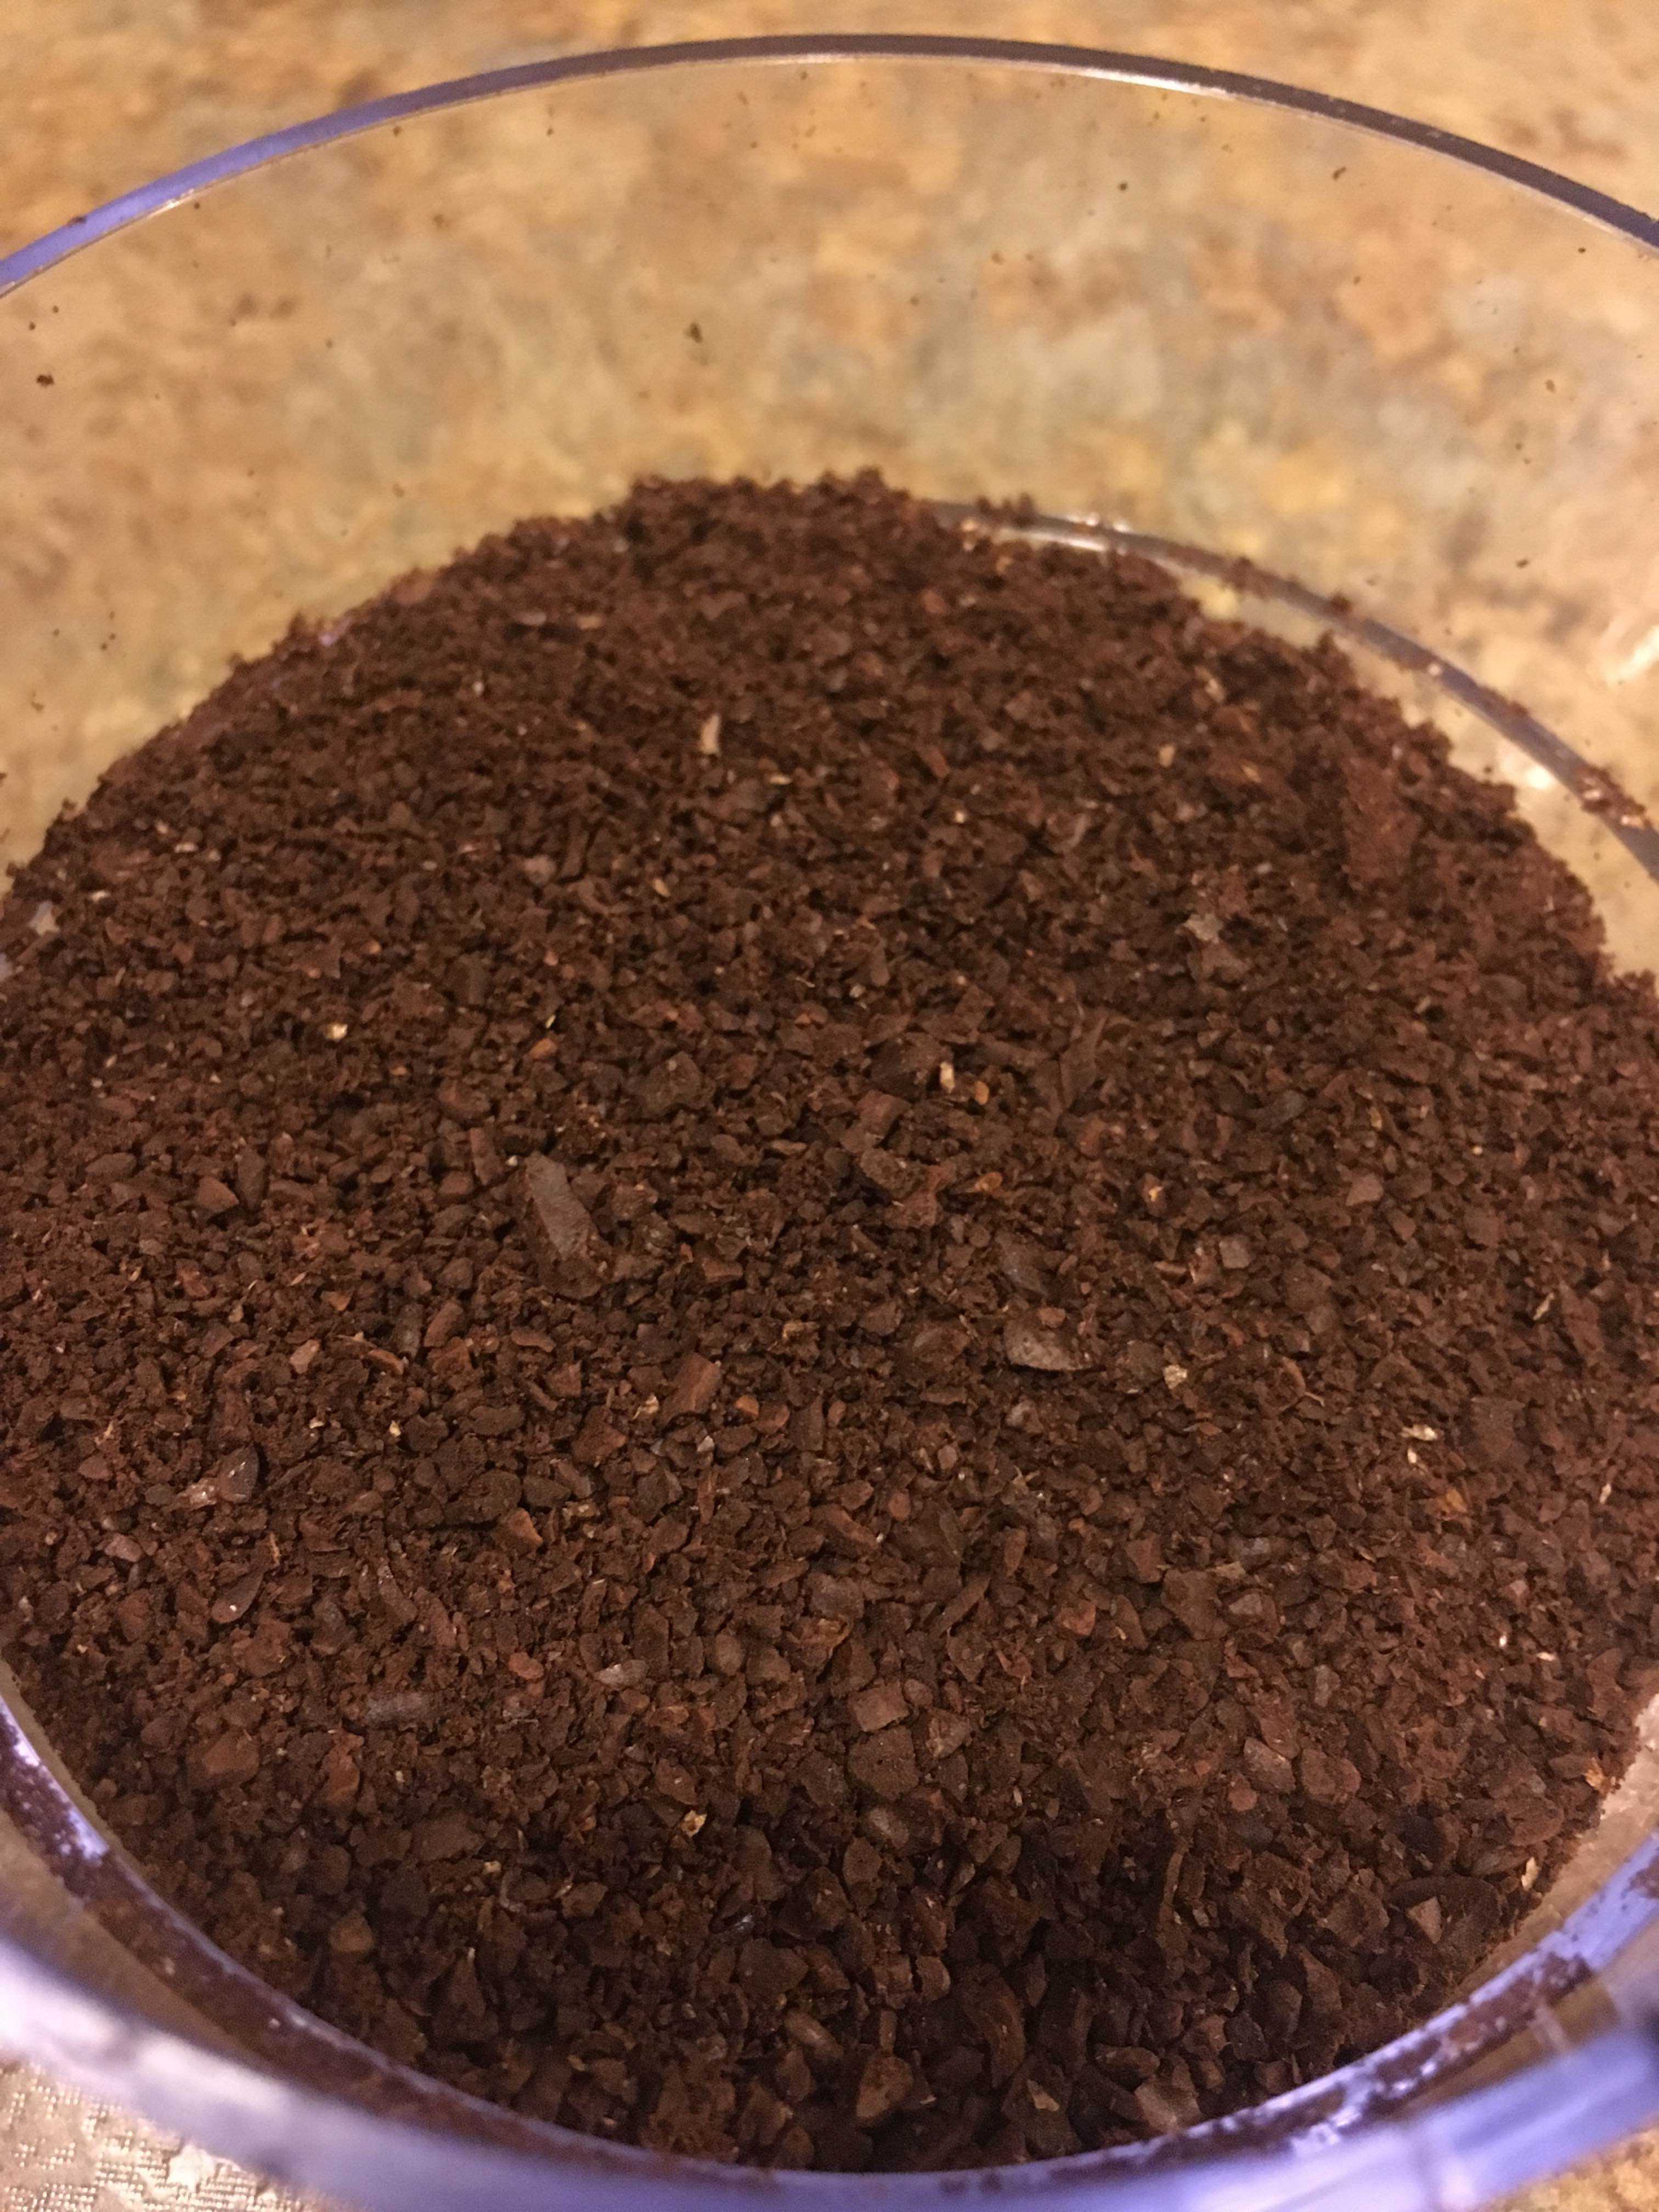
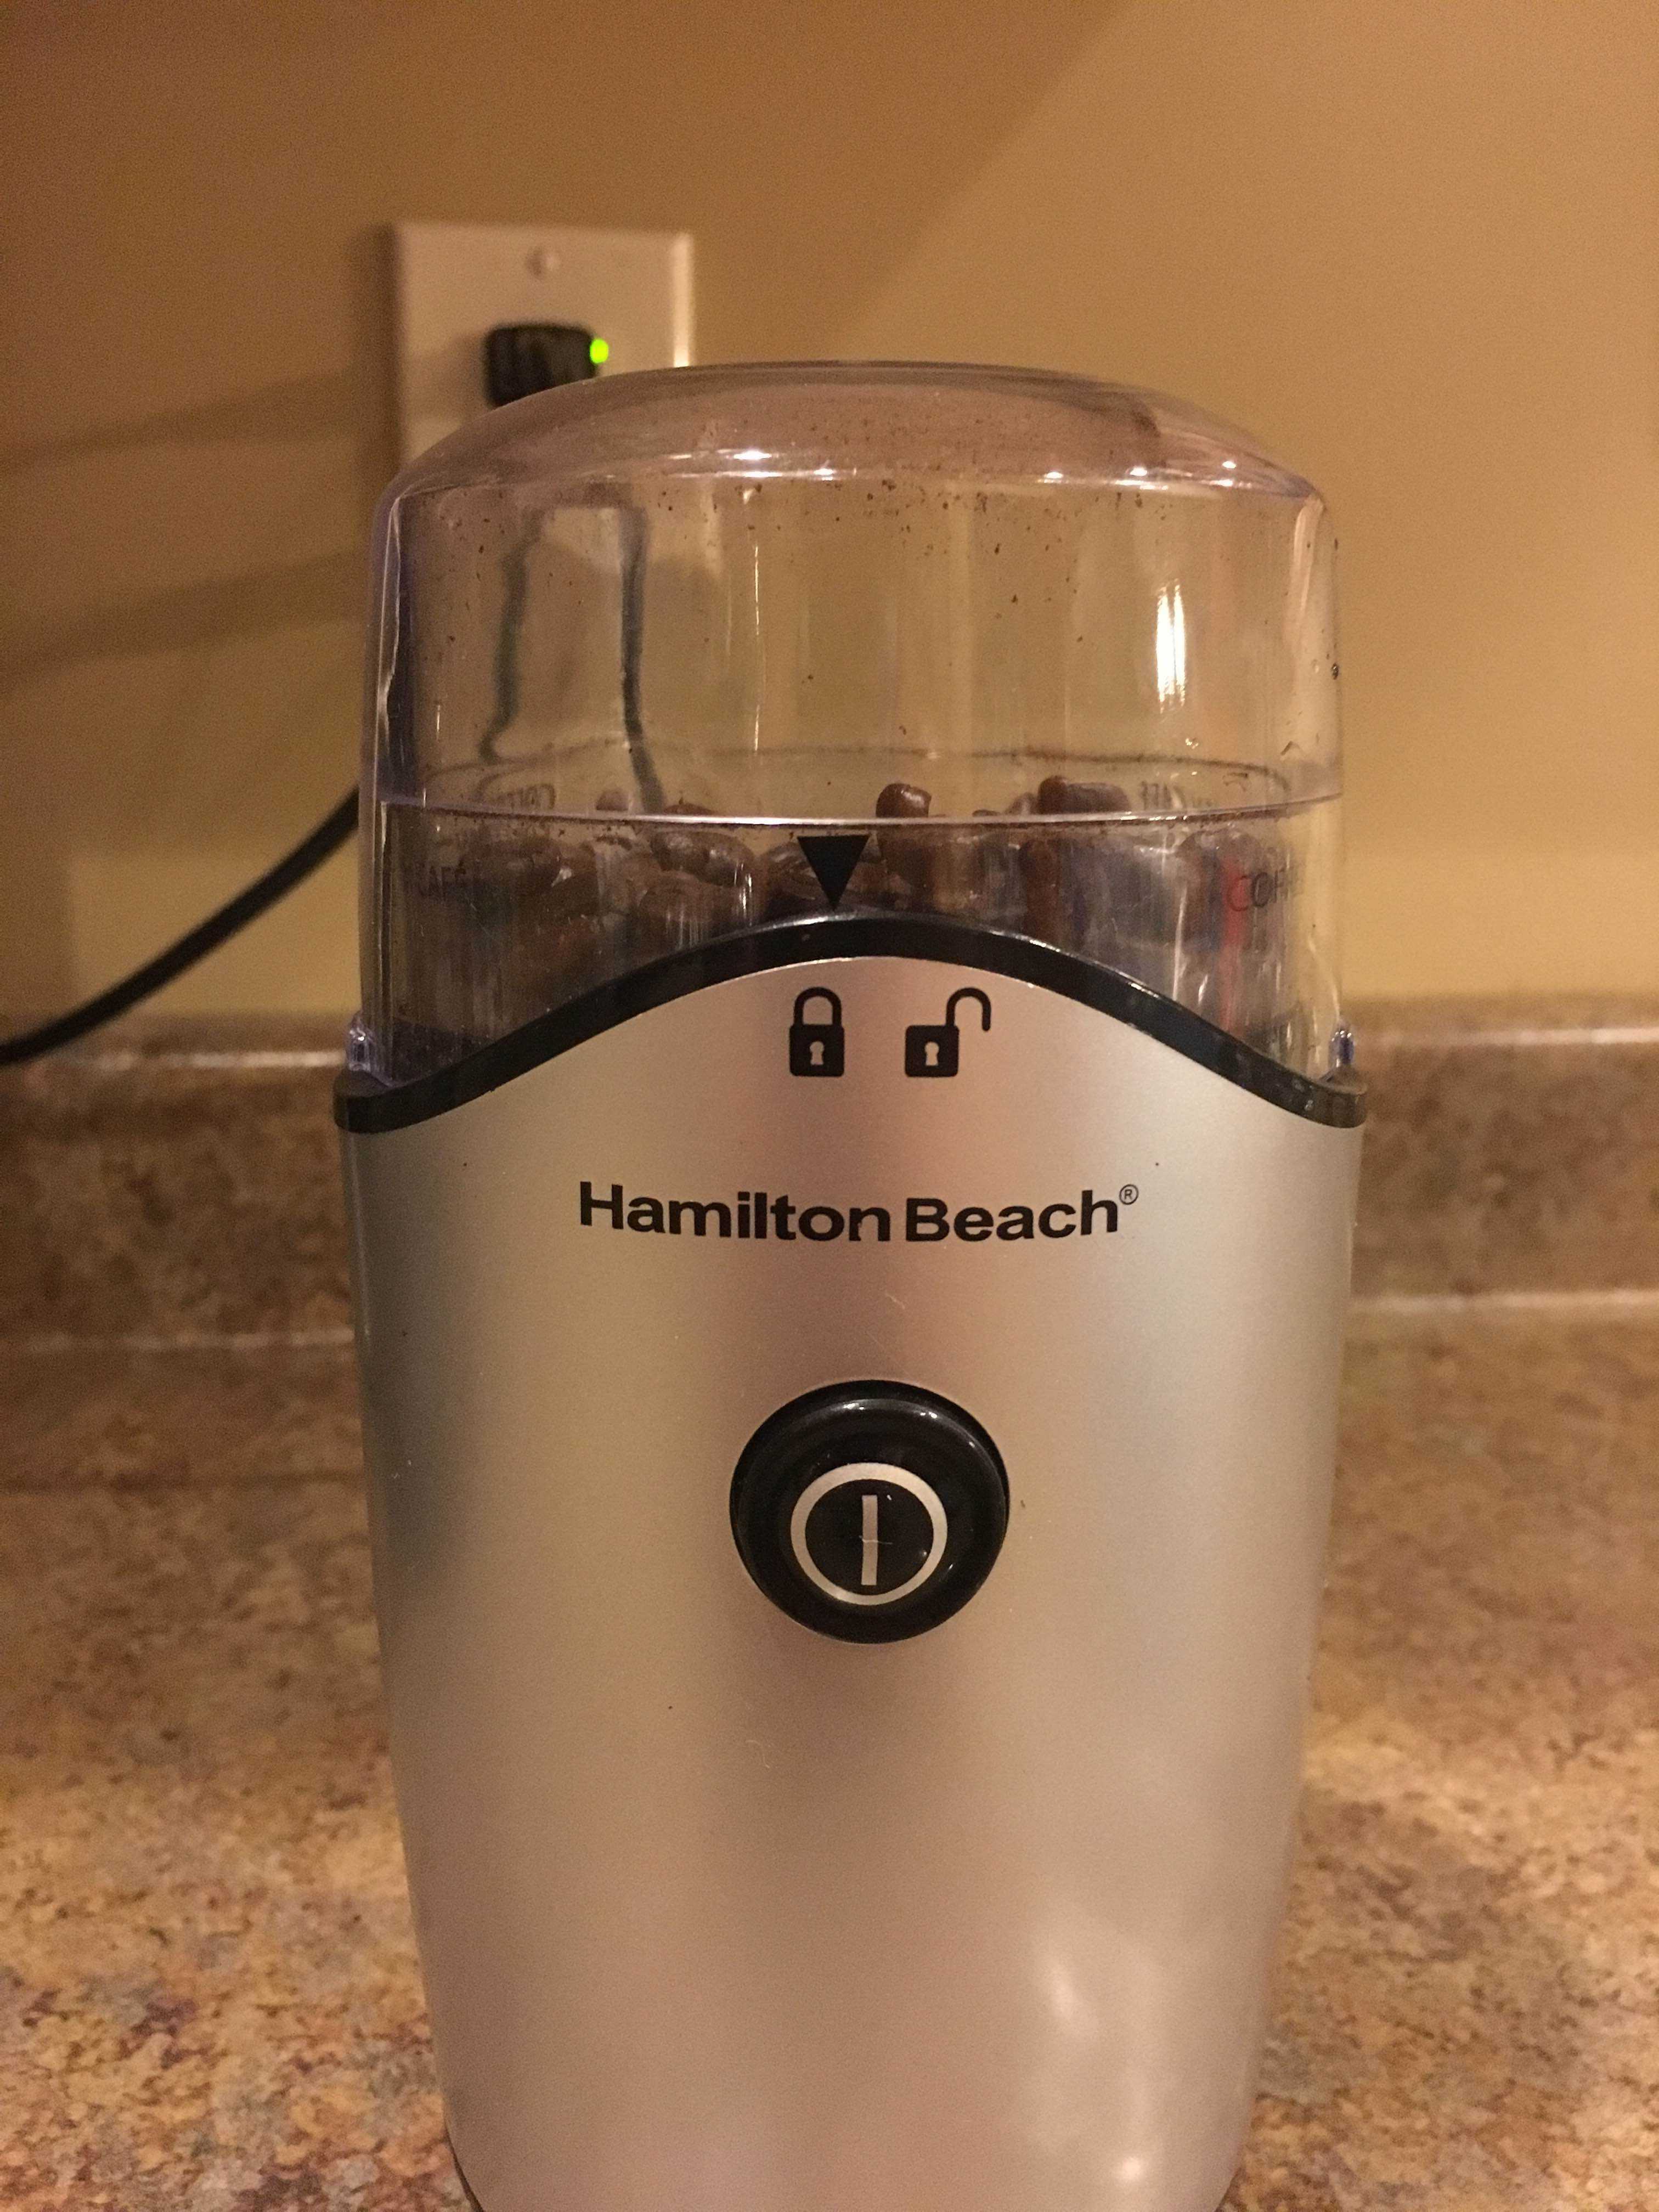
Many have the mindset that grinding coffee beans is an expensive endeavour, but it doesn’t have to be. I once again went to Target and found a relatively inexpensive 15 dollar grinder (2) that worked perfectly for my purposes. Then, I loaded my beans into the grinder and ground them to a consistency similar to the picture shown. It is important to grind them finely, but not fine enough that they can escape a strainer when brewing the coffee (3). You want to see a little texture. This consistency allows the water to better absorb the flavor without going through the strainer.
Step 3: Putting it all together
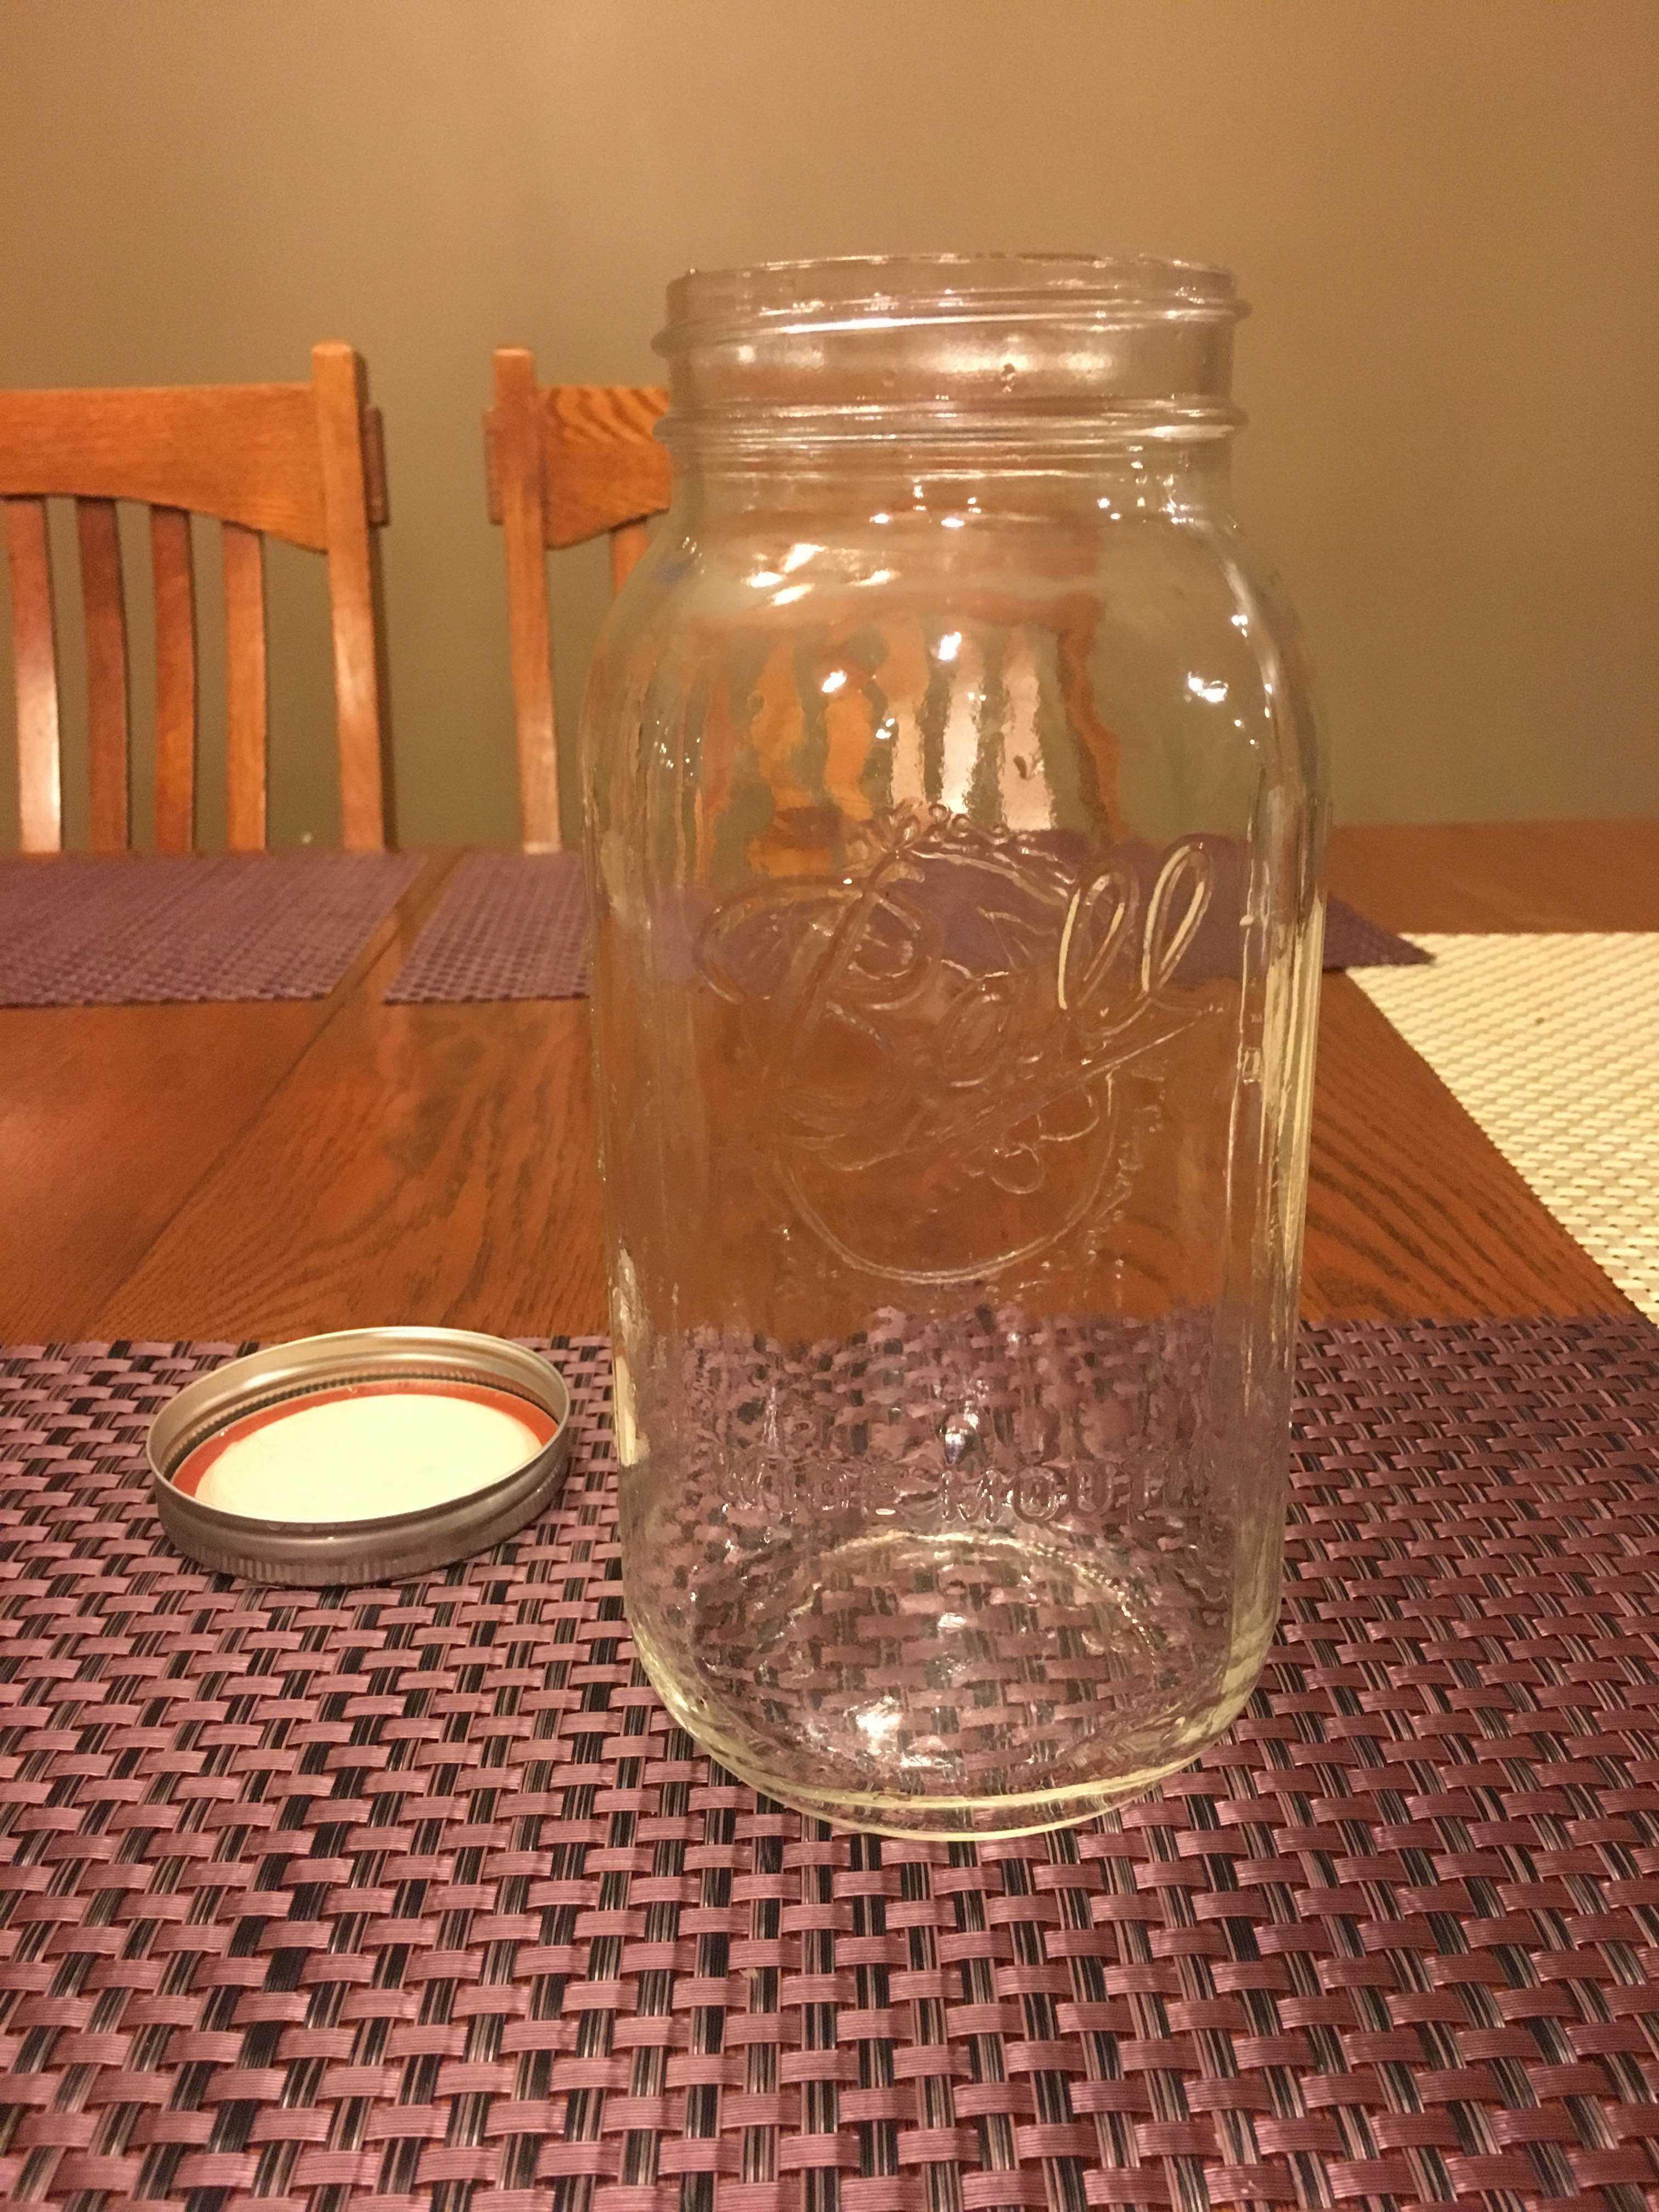
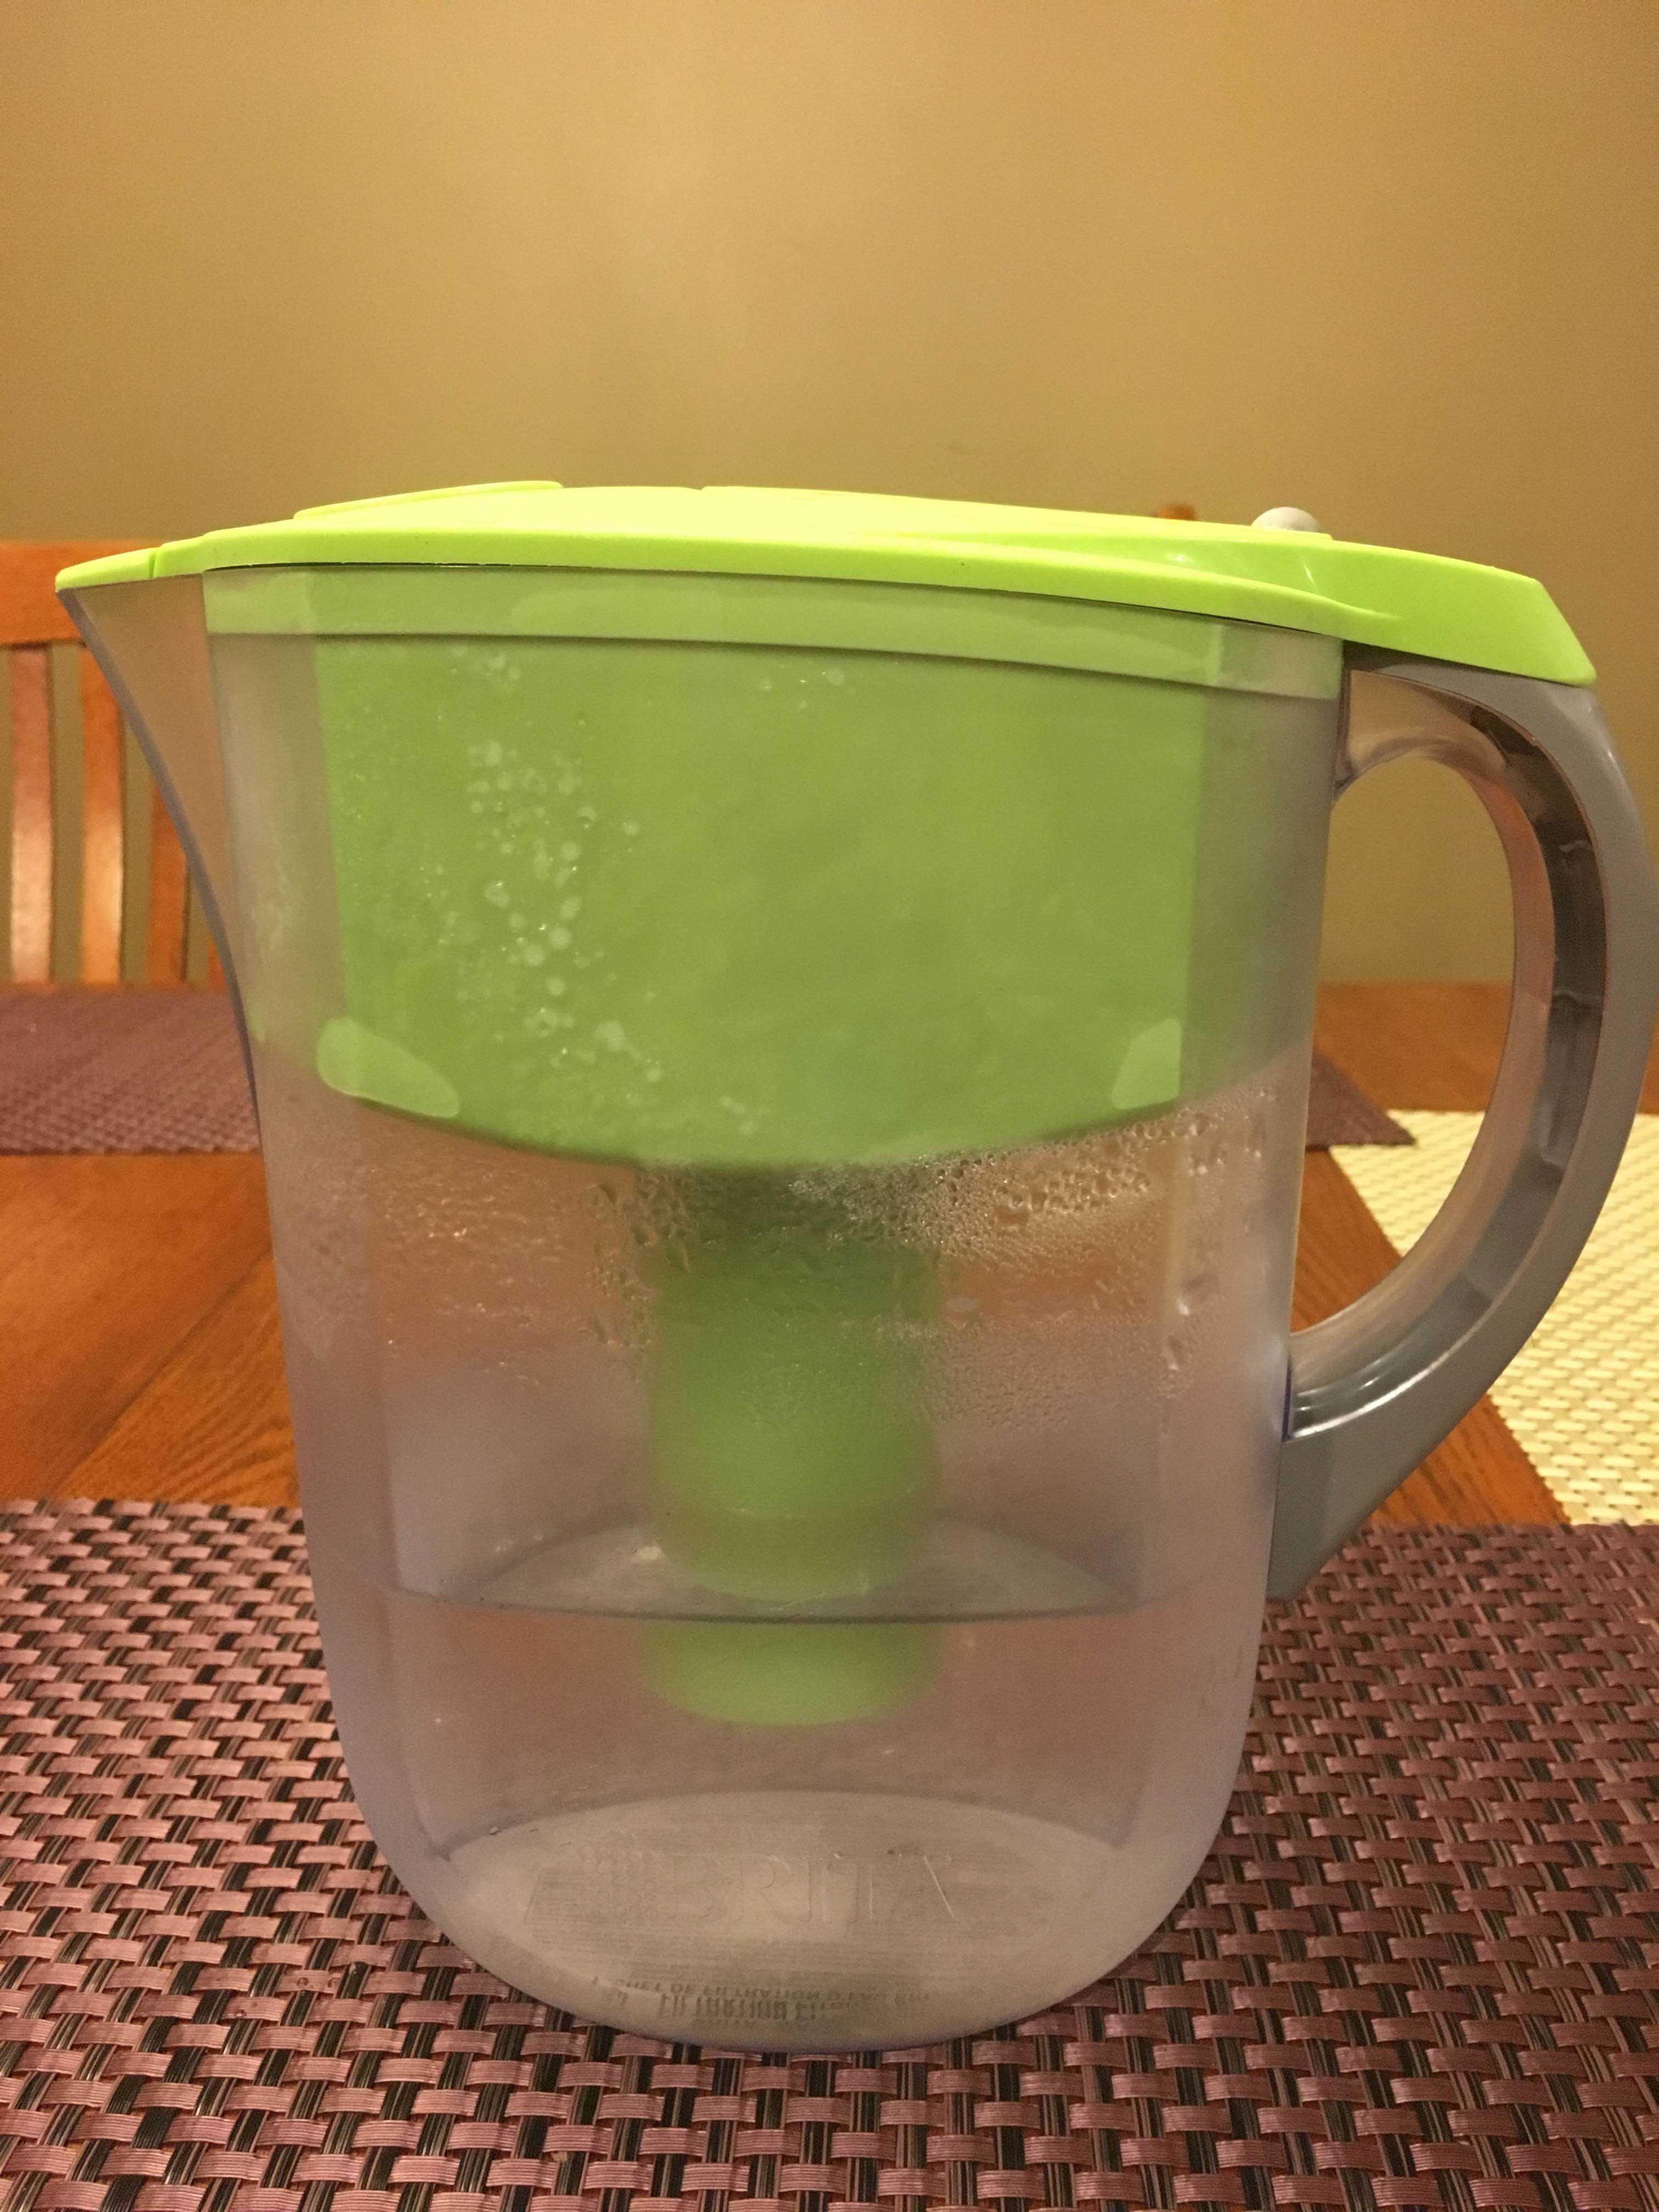
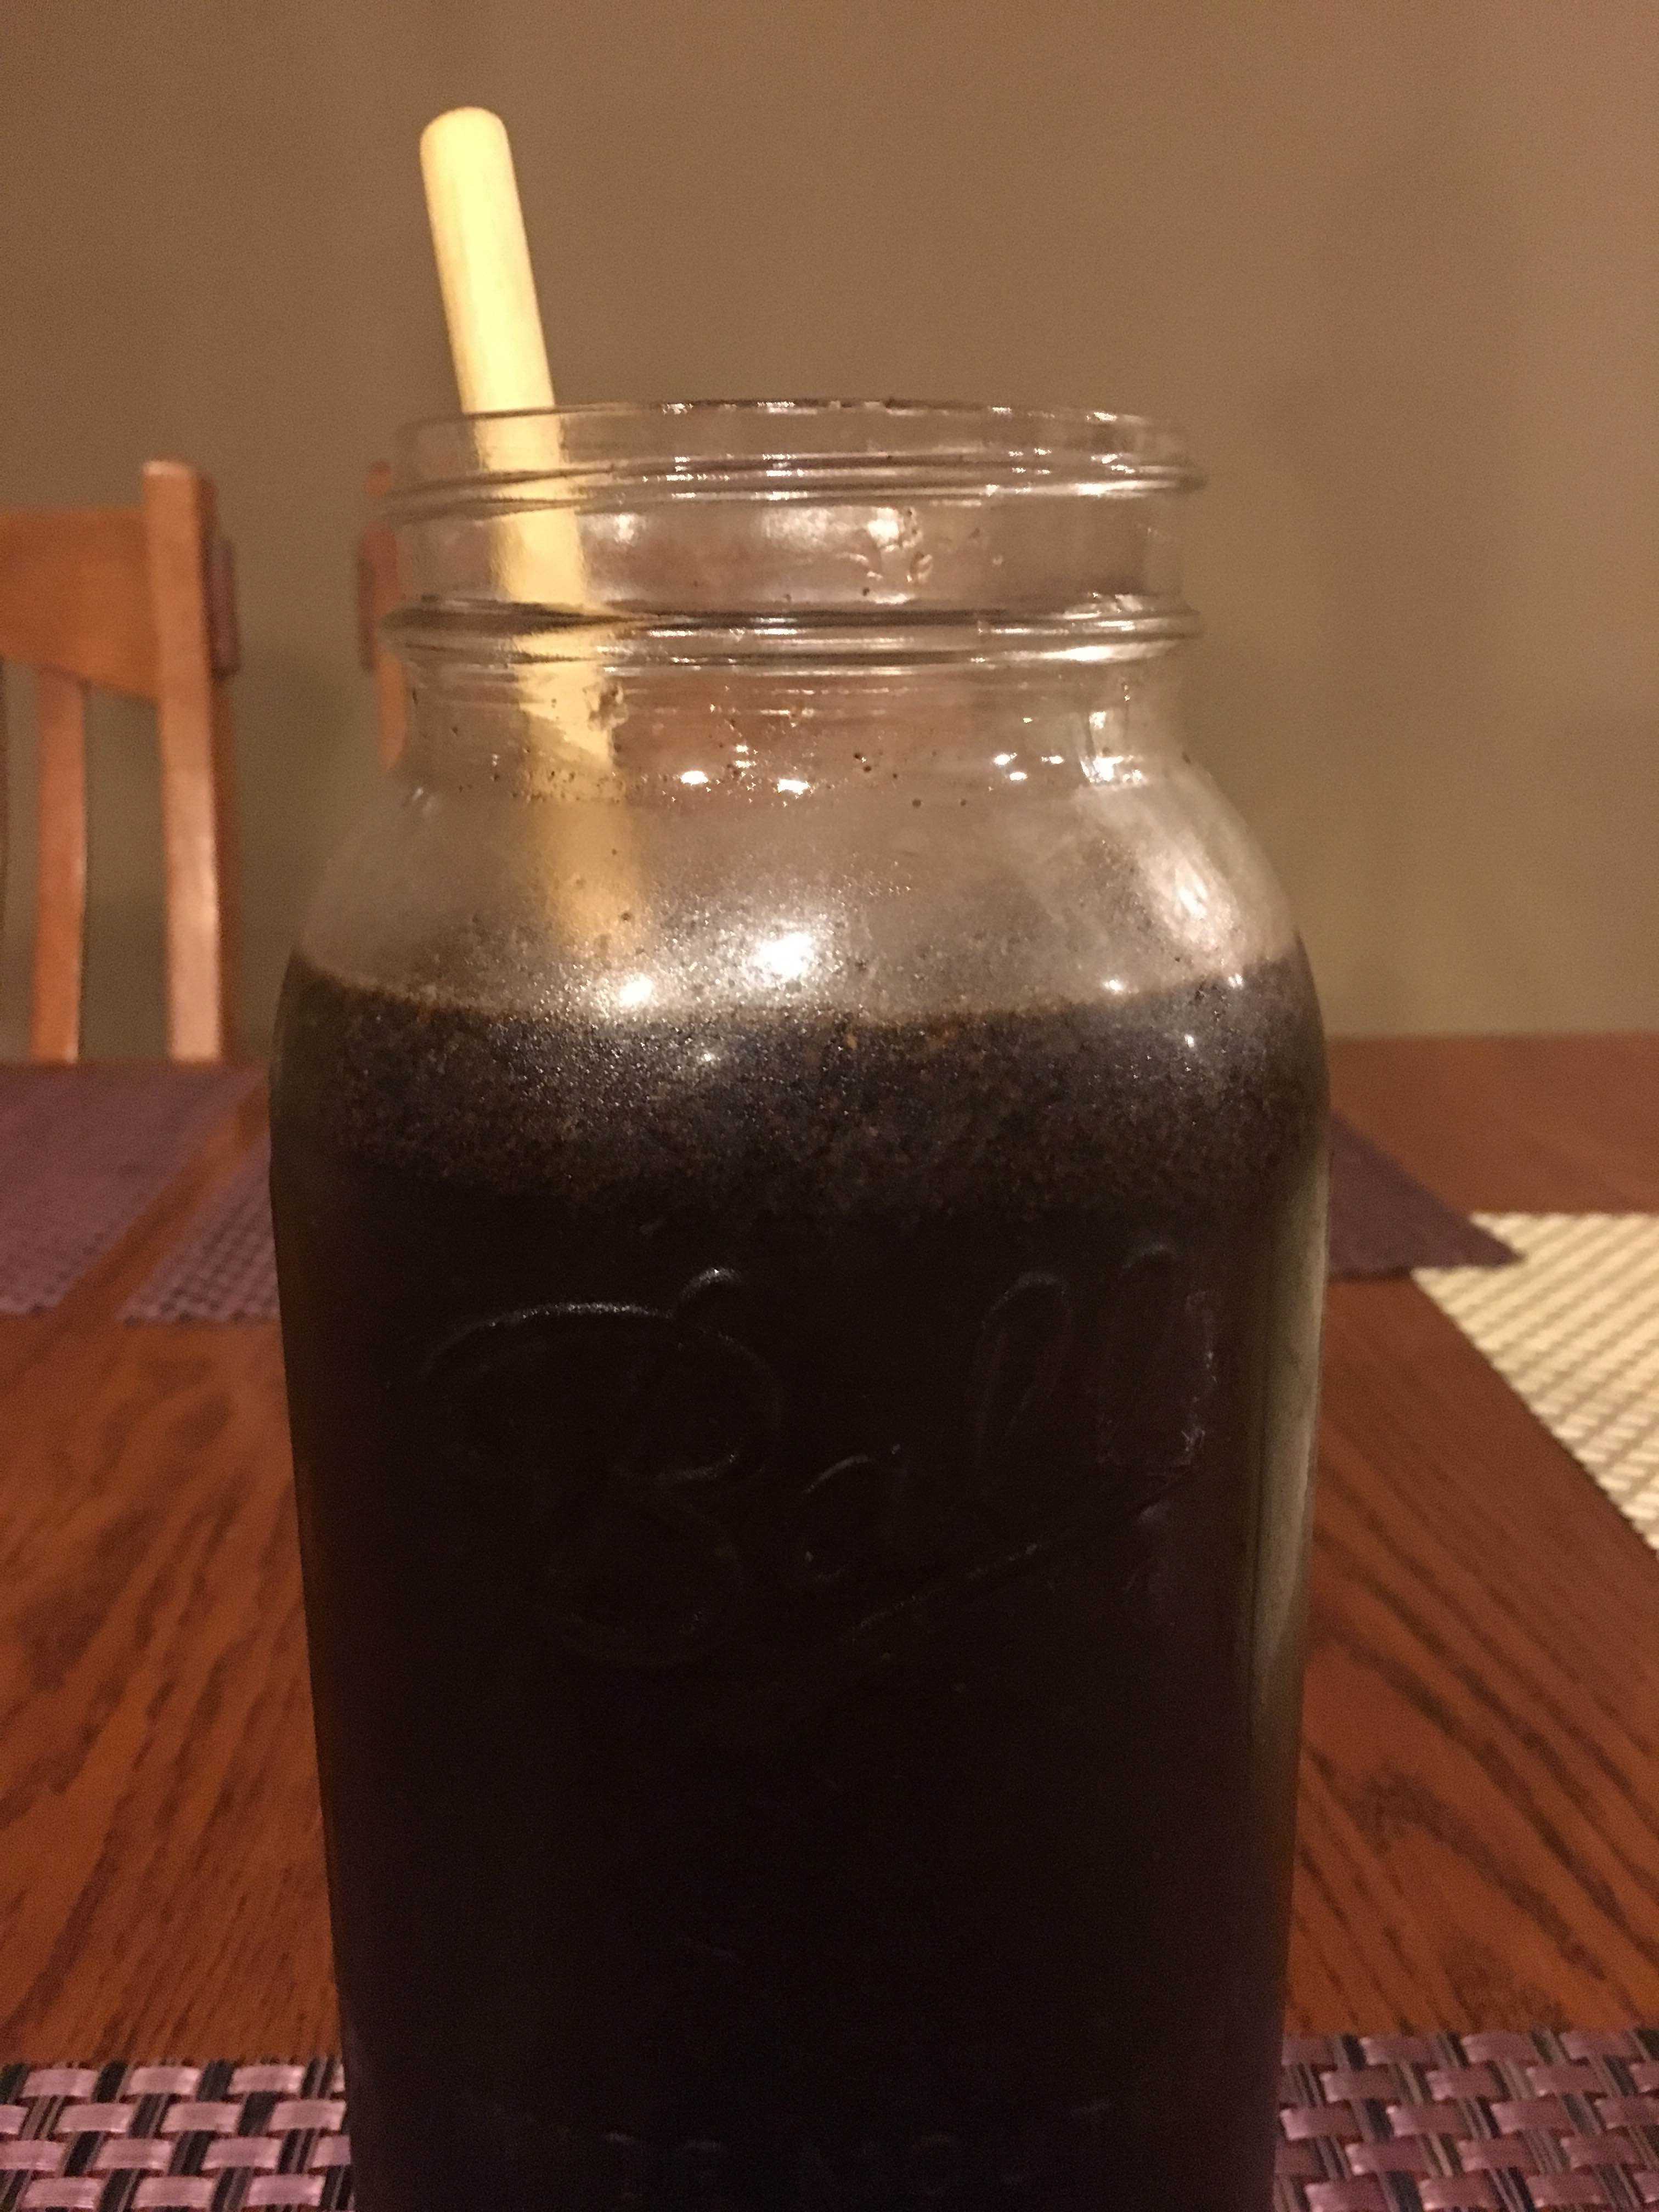
Once you have the beans ground up, gather a mason jar (4) or other liquid holding device and insert the coffee grounds. Then you’ll want to add filtered water (5) to the top, stirring continuously (6). Once everything is combined, you can close your container and either pop it in the refrigerator or leave it on the counter. I suggest putting it in the refrigerator as it ensures that your beverage is cold in the morning.
Step 4: That first sip
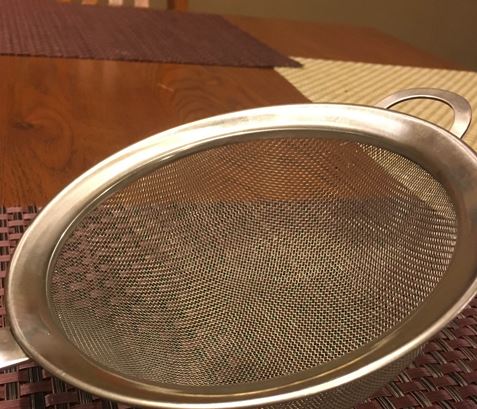
After around 12-18 hours of marinating, your cold brew should be ready to drink. Take your container and strain out all of the grounds (7) to ensure that you have a smooth cup of joe. I used the strainer pictured which has smaller gaps in it compared to the one you’d strain pasta in. Once you have all the grounds out, add something like milk, creamer, or sugar to taste and enjoy!